
Pi Software
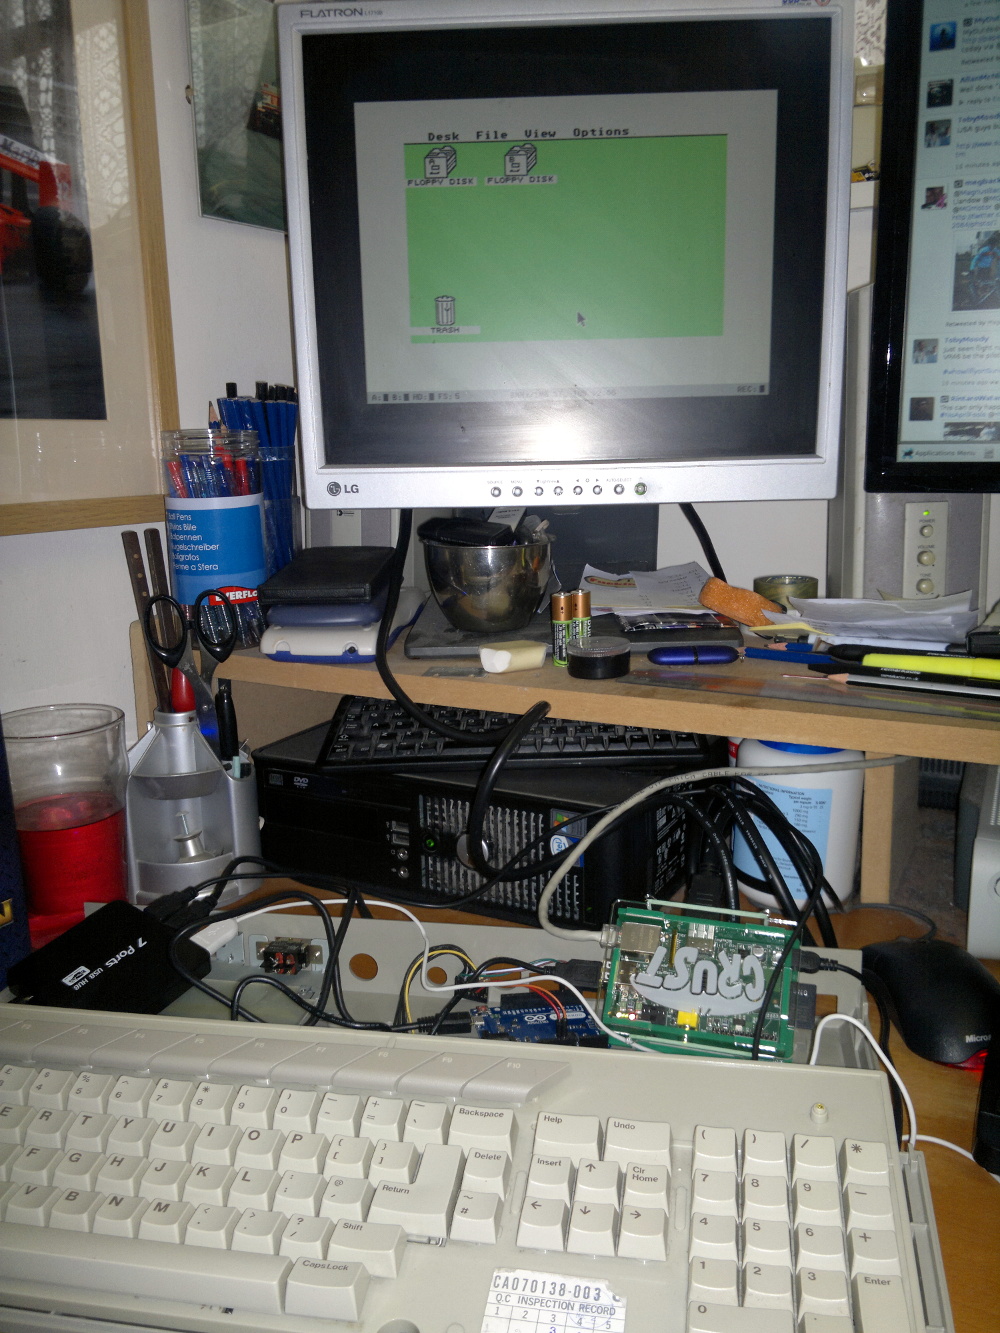
I am using the Hatari emulator with this project which is available for a number of operating systems including Raspbian and RISC OS, both of which will run on the Pi. Although I have read some good things about Hatari performance on RISC OS I decided to use Raspbian because I am much more familiar with it.
I first set-up Raspbian on a 4GB SD card as per this tutorial.
I then briefly connected the Pi to the internet to install Hatari using apt-get,
sudo apt-get install hatari
You will also need a TOS rom file that contains the Atari operating code. These are easy to find online and various versions are available depending on exactly which Atari ST version you want to emulate. I saved that file as,
/home/pi/atari_tos/TOS104UK.img
If you want to get the Pi to boot directly into Hatari (seems more immersive) you need to do a couple of things. Firstly, to have the Pi auto-login follow these instructions.
Your set-up may vary, but I added the following commands to the end of the file/home/pi/.bashrc which causes the Pi to set the speaker volume (my speaker has no
volume control) and to automatically start Hatari:
/usr/bin/amixer -c 0 sset PCM playback 10%
/usr/bin/hatari --fullscreen --tos /home/pi/atari_tos/TOS104UK.img
Normally, Hatari uses the F12 key to bring up its main menu where you can change its settings and load applications. The ST keyboard only has 10 function keys so I mapped F12 to the Atari 'Help' key.
Depending on which version of the Pi you are using you may need to overclock your Pi to get acceptable performance. There are a number of tutorials available on this subject but take care not to overdo things.
If you need help with Hatari the documentation is here.
Return to home page.